Clay Paw Print
$2.00 – $6.00
Description
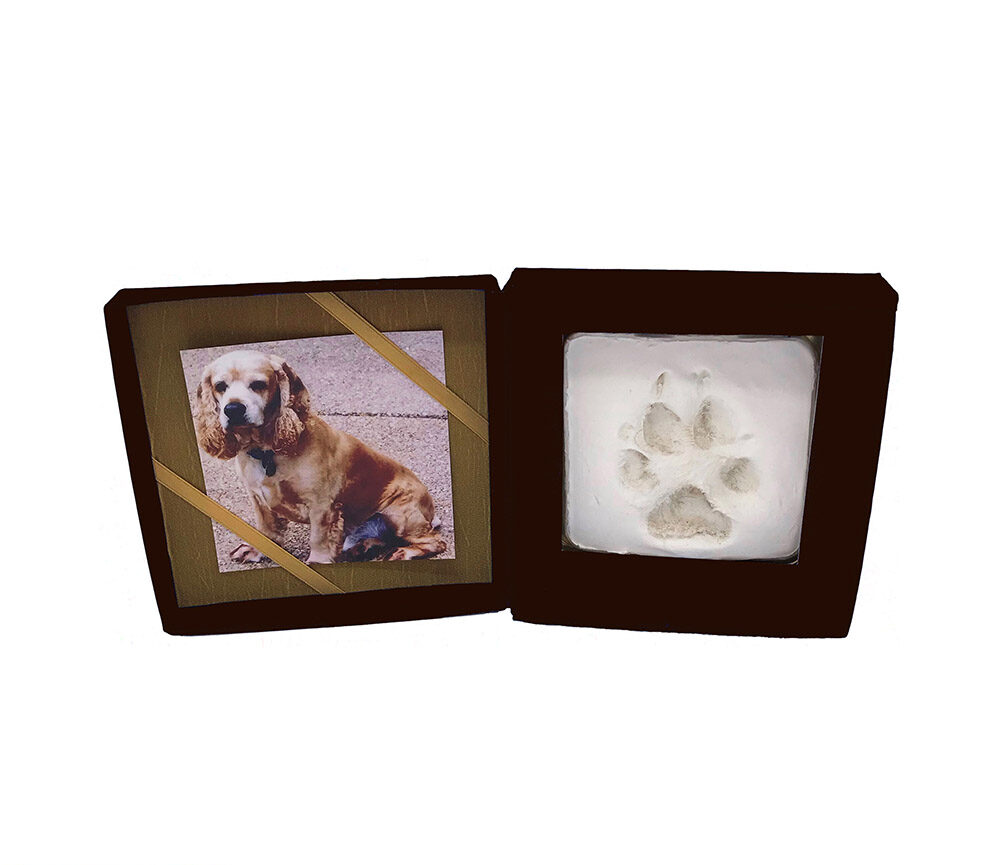
Our Clay Paw Print Kit product includes ribbon on the interior to insert a small photo of your beloved companion.
Our clay paw print instructions are as follows:
Follow the general guidelines below, if anything goes wrong, just start over. Consider cleaning your pet’s paws before starting. Some people find wearing disposable gloves makes it easier to stay clean and avoid dry skin.
Tools that should be considered are wax paper, rolling pin, knife, baby powder & warm water sink/faucet. Wash your hands, locate a clean and smooth surface and roll your clay on a piece of wax paper using a clean rolling pin.
Open the clay packaging by tearing it open on both ends. If necessary, small slits exist in the foil for this purpose. Don’t be surprised if water is present. Then tear open the clear plastic packaging holding the clay and remove the clay and place onto the wax paper.
We suggest that you attempt to roll the clay in such a direction to make the clay more square, not more rectangular. Roll it until smooth and you have created the desired square size to cut with the square gold tin holder (included with display boxes). Always try to make certain the clay is slightly larger than the shape of the tin.
The clay is quite firm, so pressing hard on the tin may disfigure the square gold tin. Some people place the tin (open face down) onto the clay and trace the tin with a knife and then remove the “excess” clay material. When all the excess clay is cut away, push down on the tin to enclose the clay.
Next you will turn the clay and tin over and peel off the wax paper. It works best to keep the clay inside the square tin now at all times.
Next, we suggest rolling the visible side of the clay with the rolling pin if you think it will be helpful to smooth uneven areas. Otherwise, just washing/wetting the surface of the clay with warm water while wiping your fingers in a circular motion to try to create a consistent smooth appearance is useful. When satisfied, tilt the clay to drain any excess water into the sink.
Some people use baby powder to create a “cleaner” imprint. Others say this avoids having the clay stick to the paw when removing the pet’s foot. Some customers like the dirt and hair imprinted and think it looks more natural. To use baby powder, sprinkle it on prior to making paw imprint. Wash the powder away with water after making the imprint.
Apply the pet’s paw onto the clay firmly to make a DEEP footprint (cat owners should expect the back paws to be used for better imprinting and imaging and therefore expect claw marks). Press the toenails into the clay deeply, it improves the image.
The clay and tin can immediately be placed inside the display box for transport (you may wish to remove gloves and clean hands before returning the tin/clay into the display box).
The clay will remain softer for another 24 hours but can still be shipped or transported at this time. A total cure can take up to 1 week, but the clay will be very stable in about 24-72 hours. Some shrinkage will occur.
If you are not pleased with the “imprint” made, start the entire process over again.
Additional information
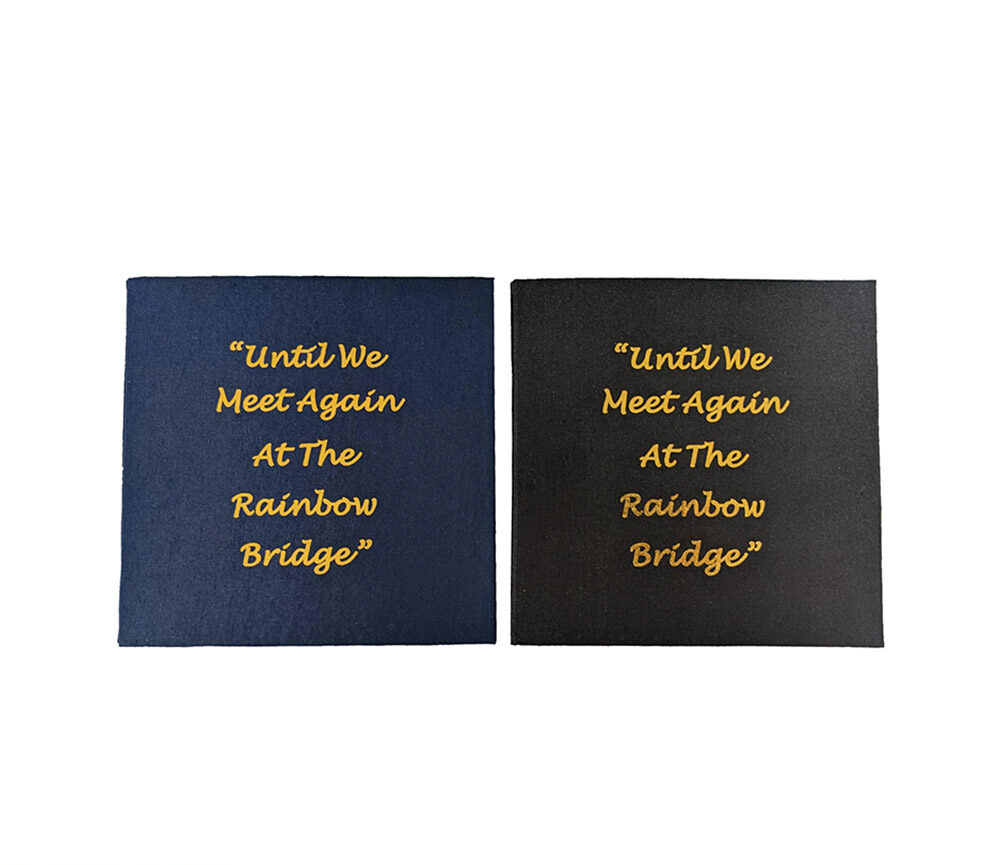
| Select One | Clay Only, Box Only- Blue, Box Only- Black, Black Kit (Clay and Box), Blue Kit (Clay and Box) |
|---|

